How to Propagate Monstera Plants (Swiss Cheese Plant)
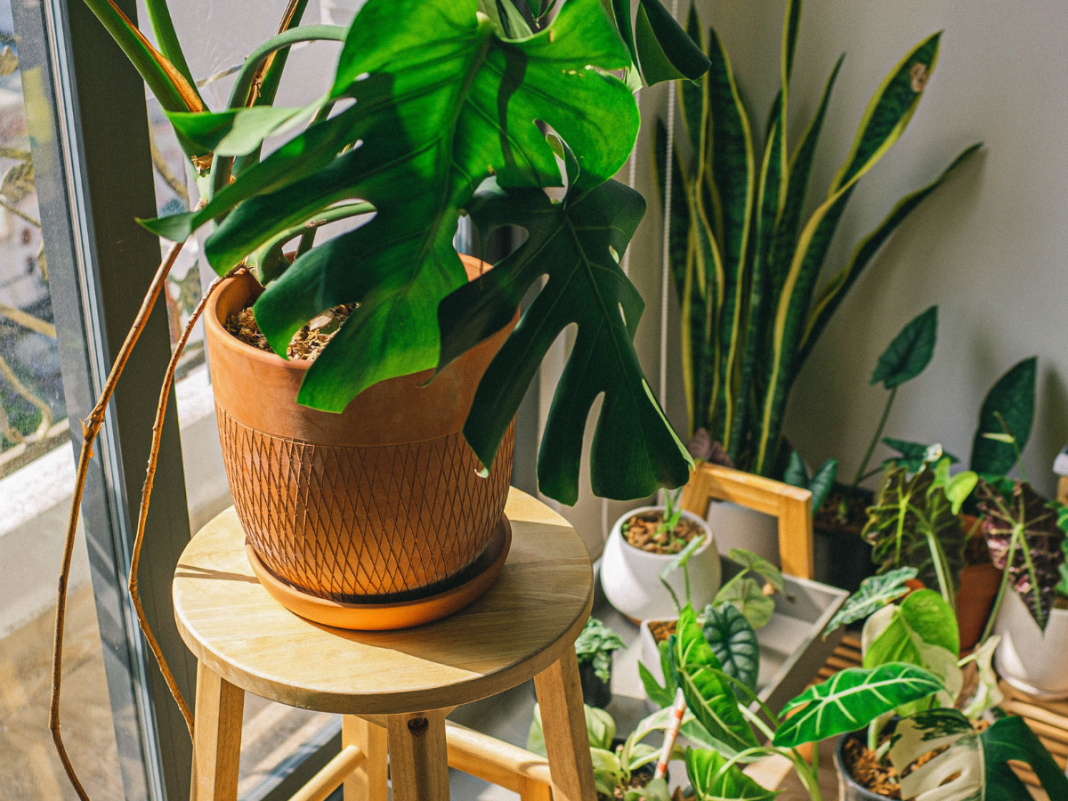
The Monstera deliciosa, scientifically known as Monstera deliciosa, is one of the most popular houseplants worldwide. You might know it by its other common names like the Swiss cheese plant (thanks to its iconic holey leaves), split-leaf philodendron, or even fruit salad plant (referring to its edible fruit in mature specimens). This tropical vine has captured plant lovers’ hearts with its dramatic foliage and relatively easy care requirements.
One of the best ways to expand your collection or share this beautiful plant with friends is through propagation. While there are several methods to propagate Monstera, the most reliable way is by taking a cutting with at least one node—the key to successful growth.
In this guide, we’ll explore different propagation techniques, why nodes are essential, and how to ensure your cuttings thrive.
Why Nodes Are Crucial for Monstera Propagation
Unlike some plants that can grow roots from just a leaf or stem, Monsteras require a node to propagate successfully. Here’s why:
- Nodes are growth points – These small bumps along the stem are where leaves, roots, and new stems emerge. Without a node, a Monstera cutting cannot develop into a new plant.
- Multiple nodes increase success rates – While a single node can work, cuttings with two or more nodes have a better chance of survival. If one node rots or fails, the other can still produce roots and leaves.
- Aerial roots often sprout from nodes – If your cutting includes an aerial root, it may root even faster when placed in water or soil.
Parts of a Monstera Plant
Before taking a cutting, it helps to understand the plant’s structure:
- Leaf – The iconic split leaves grow from a long stalk called a petiole.
- Petiole – The stem that connects the leaf to the main vine.
- Node – The thickened ring on the stem where leaves and roots form.
- Internode – The bare stem section between nodes (this cannot produce roots).
Different Ways to Propagate Monstera Plants
1. Water Propagation (The Easiest Method)
Best for: Beginners who want to watch roots develop.
Steps:
- Take a cutting – Use clean scissors or pruning shears to cut just below a node. Ensure at least one node (preferably two) is included.
- Place in water – Submerge the node in a jar of room-temperature water, keeping leaves above the surface.
- Change water weekly – This prevents bacterial growth and keeps oxygen levels high.
- Wait for roots – Roots typically appear in 2–4 weeks. Once they’re 2–3 inches long, transfer to soil.
Pros:
- Easy to monitor root growth
- Less risk of rot compared to soil propagation
Cons:
- Roots grown in water are delicate and may struggle when moved to soil.
2. Soil Propagation (Faster Transition to Soil)
Best for: Those who want to skip the water step and plant directly.
Steps:
- Prepare a well-draining mix – Use a blend of potting soil, perlite, and orchid bark.
- Dip the node in rooting hormone (optional) – This speeds up root development.
- Plant the cutting – Bury the node 1–2 inches deep in moist soil.
- Keep humid – Cover with a plastic bag or place in a greenhouse-like environment to retain moisture.
- Wait for new growth – Roots should form in 3–6 weeks.
Pros:
- No need to transition from water to soil
- Faster establishment if conditions are right
Cons:
- Harder to check for root development
- Higher risk of rot if overwatered
3. Sphagnum Moss Propagation (Great for Aerial Roots)
Best for: Encouraging strong root growth before transferring to soil.
Steps:
- Soak sphagnum moss – Ensure it’s damp but not dripping.
- Wrap the node – Enclose the node and any aerial roots in moss.
- Secure with plastic wrap or foil – This keeps moisture in.
- Check weekly – Roots should appear in 3–5 weeks.
- Transfer to soil – Once roots are established, plant as usual.
Pros:
- Retains moisture better than soil
- Encourages strong root systems
Cons:
- Requires careful monitoring to prevent mold
4. Air Layering (For Larger Plants Without Cutting)
Best for: Propagating a mature Monstera without removing the cutting immediately.
Steps:
- Choose a healthy stem – Look for a section with a node and aerial root.
- Wrap in damp moss – Cover the node with sphagnum moss and secure with plastic.
- Wait for roots – Once roots grow through the moss (4–8 weeks), cut below the node and plant.
Pros:
- No risk of cutting until roots are established
- Works well for thick, mature stems
Cons:
- Slower than other methods
Common Propagation Mistakes to Avoid
❌ Cutting without a node – No node = no roots. Always include at least one.
❌ Using dirty tools – Sterilize scissors to prevent infections.
❌ Overwatering soil-propagated cuttings – This leads to rot. Keep soil lightly moist.
❌ Too much direct sunlight – Bright, indirect light is best for new cuttings.
Final Tips for Success
✔ Take cuttings in spring/summer – Faster root growth in warm months.
✔ Use a clear container for water propagation – Easier to monitor roots.
✔ Be patient – Some cuttings take longer than others.
Conclusion
Propagating Monstera plants is simple once you understand the importance of nodes. Whether you choose water, soil, moss, or air layering, the key is providing the right conditions for roots to develop. With these methods, you’ll soon have new Monsteras to enjoy or share!
Have you tried propagating a Monstera? Which method worked best for you? 🌿
If you loved this guide, be sure to check out How2Propagate for more expert tips on plant propagation and plant care. Whether you’re growing pothos, snake plants, or rare tropical species, we have step-by-step guides to help you succeed. Happy propagating!

